You can hide imperfections and add visual interest by applying a knockdown texture to walls or ceilings. To apply a knockdown pattern, you must have a steady hand and use specialized equipment. This includes an air-powered joint compounds spray gun. A knockdown texture can be achieved by spreading the surface lightly and evenly and then “knocking down” it gently and quickly. It is possible to apply a knockdown pattern with a bit of practice. You should remove all furniture, fixtures, or outlet covers from your room. You can draw as much of your furniture and other obstructions as you like, so it’ll be easier to put the texture on the ceiling or walls. You should remove all furniture, even if texturing the walls. The spray will still get onto items in the center of your room. You can cover any furniture you don’t want to move in the room with plastic sheeting, which is then secured with painter’s tape. Turn off power to the circuit at the breaker box. Use a voltage detector to verify that it is off. Take care when removing light fixtures. An electrician is recommended if you are not confident in your abilities. Paint or patch the ceilings or walls as necessary. The preparation of a knockdown texture for old or new walls and ceilings will depend on your needs. Pay attention to the following: If you have a new ceiling or wall that is not painted plaster or drywall, ensure it is as smooth as possible. Repair any cracks, dents, or other imperfections in an older wall/ceiling. Clean any old ceilings or walls with a suitable cleaner, according to the paint finish. After drying, apply a knockdown texture. The knockdown texture is usually applied to the wall/ceiling. However, it’s possible to paint the wall/ceiling off-white before painting. The unpainted surface will create a subtle contrast of color. You can cover or tape everything you don’t wish to have texture in the room. Drop cloths can be used to cover the floor. Plastic sheeting or painter’s tape can cover trim, windows, and other areas that aren’t being textured. Place tape on the ceiling or wall where the cover plates for the switches and outlets have been removed. Use tape and plastic sheeting to cover the walls when texturing the ceiling. You can also texturize the ceiling by using tape and thin plastic sheeting. You shouldn’t take shortcuts! You will save time if you take the time and cover all areas that you don’t want to texture. Follow the manufacturer’s instructions to build the spray gun. Rent or buy a kit of drywall spray guns from a local home improvement store. This includes a hopper (8-12 mm), a nozzle (8-12 mm), an air hose, and a compressor (30-40 PSI). Assemble the gun according to the instructions provided. Ask for a demo when you buy or rent the spray gun. You will generally do the following. Make a batter by mixing the joint compound with water. Mix 2 in (5 cm) water into a 2 US Gal (7.6L) bucket. Then, pour 1.5 US Gal (5.7L) of the joint compound dry mix. You can attach a paddle attachment to your power drill and stir the mixture until you don’t see any lumps. The mixture should be ready to use after 15 minutes. To make it thicker than pancake batter, add 0.5 inches (1.3 cm). Continue mixing until you get the right consistency. [2] You can use a small knife to measure the consistency of the pancake batter. You can tilt the knife blade slightly to see if the batter slides off. If your area is more significant than 150 sq. ft (14m2), you should break it up and create individual batches for each section. Take half of your ceiling and do the rest in the afternoon. These supplies are available at your local home improvement shop. You can fill the hopper up to halfway. Then, set up a spray testing zone. The spray gun’s attachment hopper should be filled to about one-half to two-thirds of its total capacity. Place a piece of scrap drywall (91 cm x91 cm) on a three-foot x three-foot (91 cmx91 cm) area. You may also use the plastic sheeting you have taped up in your room to practice. Turn on your air compressor. Hold the spray gun at an 18 in (46cm) distance from the testing surface. [3] Make sure you read the instructions to ensure that you know exactly how to turn the compressor on and off. Eye protection is recommended before you spray. This will keep any excess spray from reaching your eyes. A hat and long sleeves are also good options. You should wear a dust mask to avoid breathing in any overspray particles. Test your spraying technique by using the test surface. To release loose joint compounds, follow the instructions of the spray gun. The spray gun should be held 18 inches (46cm) from the test surface. To ensure uniform coverage, the gun should be moved in a steady, smooth motion. Keep practicing until your “feel” is perfect for spraying the proper amount of the mixture. [4] The spray gun’s nozzle can be adjusted. The spray can’t be adjusted to reduce or increase the rush. The goal is to have coverage of at least 40%/60. The goal is to cover 40% of the area with small, random globules. The remaining 60% should be left bare. Visual examples can be found online by searching for “knockdown text spray images.” Spray texture onto the ceiling or wall in sections of three feet x three feet (91 cm x 101 cm). You don’t need to draw grids on the ceiling if you are texturing it. Instead, consider it a grid and break it into squares. Spray them one by one using the technique you have learned in your practice sessions. As you spray, work to the edges of each section. But don’t overlap them. If you do, the texture will become too thick at the overlaps. It’s easy to coat a section of 3 feet x 3 feet (91 cm by 91 cm) if you spray the gun while moving in a smooth, steady motion. While it might take time to master a knockdown texture the first time you try it, once you get used to it, you will be able to finish a ceiling in about 5-10 minutes with a bit of practice. Do not spray for 10-15 minutes before switching to the knockdown knife. Do not spray more than one wall or half of the ceiling at any time. Wait for the spray texture to dry slightly, usually between 10-15 minutes and 30 minutes. It would help if you didn’t immediately go to the next step of smoothing out the texture with the knockdown knives. Instead, it would help if you waited for the wet shine of the spray texture to disappear. Once this happens, grab your knife and get on with the job. If the sprayed texture remains too wet, it may smear rather than flatten when you use a knockdown knife. If you let it dry for too long, you won’t be able to flatten it with the knockdown knife adequately. The knockdown knife should be used to smoothen the texture. This task uses a knockdown tool with an 18 in (46 cm) rubber blade. To extend your reach, attach an extension rod to the handle. The rubber blade should be flat at the corner or end of the area you just textured. Gently, evenly press the knife across the surface. Stop at the corner or end and move the knife approximately 2 ft (61cm) away. Texturing a wall involves starting at the corner of the wall that meets the ceiling. Next, drag the knockdown blade down until it is about 2 ft (61cm) from the floor. Then, lift it off. Light pressure can flatten the walls’ texture globules, but it won’t cause them to smear each other. Practice on a scrap of plywood or drywall if you’re unsure about your technique. A knockdown knife is available at most home improvement stores near the joint compounds. It looks like an enormous squeegee. After every stroke, clean the knockdown blade. Use warm water to dampen a rag and wipe the rubber blade of your knockdown knife. Repeat this every time you remove the blade from the ceiling or wall. This will ensure that your knockdown knife remains clean each time you pass the textured area. You can quickly wipe the blade with a stack of damp rags. Start at the opposite end and work inwards for your first row of knockdowns. Start at one end and work your way down until you are 2 ft (61cm) from the end of the textured area. You can now start from the opposite end and knock down the remaining 2 feet (61 cm). You can release some pressure when you reach your previous point. This will make the knockdown knife blend effortlessly. Keep smoothing the texture in straight rows with minimal overlap. Your knockdown knife should be placed right next to your starting point with no more than 3 in (7.6cm) overlap. You can drag the knife the same way as before across the textured areas. You can repeat this row after row until you have completely removed the entire textured surface. It would help if you worked at a rapid pace. You will need to wait about 10-15 minutes for the texture to dry so it can be easily smoothed. Your smoothing lines should be as straight as possible. Taped-over openings such as switches, fixtures, outlets, or fixtures should be removed. You should only create curves around obstacles that are permanent if necessary. Allow the texture to dry overnight before you begin cleaning the room. While the knockdown texture can be set and dried in just a few hours, it is better to leave it for at least 8 hours. Then, remove any plastic sheeting, painter’s tape, and drop cloths from the room. Finally, put all-electric fixtures and covers back in place. Wait at least three days, and ideally one week, before you place furniture or other items against a wall that has been textured. If possible, you should also wait for 3 to 7 days before painting the textured surface. We offer the above services at the following locations within Port St Lucie:
If you are located in Palm Beach County and you don’t see your city/area listed above, don’t worry! We cover all of Palm Beach County. Fill out the contact form above or CLICK HERE and send us a message. We’ll get back to you asap!
Knockdown Textures
Contact Us

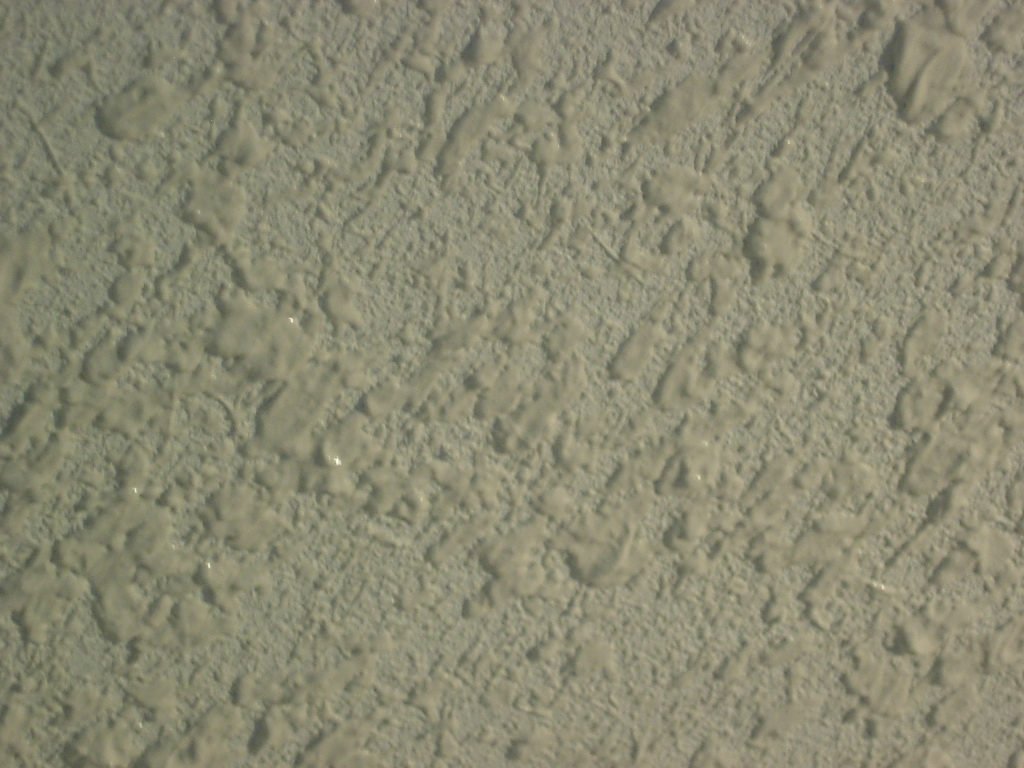
Preparing your Room and Your Materials
Completing the Knockdown texture

Locations We Serve