Orange peel ceiling conceals imperfections like screw pops and bulging joints in drywall ceilings. The orange peel texture is applied using a ceiling texture hopper. The result is a ceiling that has slightly raised bumps, similar to an orange’s outer skin. The ceiling texture is often created using Gypsum plaster and a little water. You can purchase plaster at hardware stores and paint shops. It is also known as joint compound or drywall mud. Before adding orange peel texture to ceilings, make sure you have primer on your drywall. Remove all furniture and decor from the room. Tape the flooring with painter’s tape. Plastic should not have wrinkles. The same plastic should be stretched over all walls and doors in the room. Use the tape to attach it to the ceiling edge. Apply a coat of latex primer to the ceiling. Use a flat roller with a low nap. Allow the primer to dry for 24 hours before applying a single layer. Primer ensures that the joint compound adheres evenly to the drywall surface. Put joint compound in your drywall hopper. Add water to ensure plaster flows smoothly through the spray gun’s nozzle. Lightly spray the ceiling with the hopper’s gun, moving the gun in one direction. Allow the surface to dry. Spray another coat of orange peel texture on the ceiling. However, spray in the opposite direction. If the first layer of texture was applied horizontally, then the second coat should apply vertically. The second coat should dry for 24 hours. Use a rough nap roll to apply two to three pieces of latex paint. After the drywall is installed and sealed with tape or compound, it’s common to add texture. This will improve the room’s aesthetics and cover any errors made during the installation. Knockdown texture is applied to ceilings and walls in spray or roll form. It initially looks like an orange peel’s skin. The roughness of the texture is reduced by running a Plexiglas knife over it, creating a “knockdown effect.” Use hot soapy water to clean the roller after application. Before applying paint, always use a primer to protect the texture. Mix the joint drywall compound in a 5-gallon container with water until it is thickened to the consistency of cream. To achieve the desired thickness, add more combination or water. The mixture should be poured into a paint tray. Use a plastic loop roller to push the mix onto the handle of a roller. Dip the roller into the tray and apply the mixture to all sides. The combination should be rolled onto all surfaces of drywall. Allow the mixture to dry for 15 minutes. Apply light pressure to the drywall surface with the Plexiglas knife blade. Begin at the top of your wall, and then move the knife down to the middle of the wall. Next, move the knife up to the center of the knife by running it from the top of the wall. Continue this process until the knife covers all walls. After the drywall is installed and sealed with tape or compound, it’s common to add texture. This will improve the room’s aesthetics and cover any errors made during the installation. To achieve the desired thickness, add more water or compound. Place a plastic loop roller on a handle and dip it in the tray. Apply the mixture to all sides. How to coat a wall after wallpaper removal It can be tedious and time-consuming to remove wallpaper. Once all glue and paper have been removed from the wall, you may still find a damaged or chipped piece of drywall. You can repair chips and dents using lightweight joint compounds by skim coating the wall. Although the process is long, the result is a smooth and new-looking wall. Use medium-grit sandpaper to sand the wall. To remove any drywall dust, wipe the partition with a damp cloth. Apply a little joint compound to the edge of a trowel made of drywall. Apply a thin coat of plaster to the surface while holding the scoop at 90 degrees. Apply no more than 1/4 inch plaster at once. Use the trowel and joint compound to fill in any holes or dings found on the wall’s surface. The technique can be compared to buttering toast or icing cakes. Allow the plaster to dry for four hours. To remove any plaster that is not completely dry, lightly sand it with a medium- to fine-grit sandpaper. Use a damp cloth to remove dust. Continue to apply more plaster to the wall using the trowel. Let it dry, then continue to work until all the grooves are filled in and evened. It is possible to apply various layers of joint compounds. Orange peel texture can be sprayed on walls and ceilings to create a similar texture to orange peel. There are many reasons why an orange peel should be sprayed on walls and ceilings. Many people think that it is too complicated and won’t look nice. Spraying orange peel texture is very easy. All you need are the right tools, some instruction, and some practice. Although textured walls are often considered outdated by many, there are a few reasons why you might want to spray orange peel texture on your ceilings or walls. Orange peel walls last longer than flat walls. Orange peel walls are more durable than flat walls because they can withstand minor dents, dings, and scratches. Orange peel is a popular choice for commercial and rental properties. Orange peel can hide flaws in ceilings and walls very well. It can be challenging to get walls smoothened if you have a rental property or a home in poor condition. This can cost you lots of money and new sheetrock. An orange peel texture can be applied quickly to make walls look great and inexpensive. You will need the following tools to spray an orange peel texture Plus 3 Drywall Mud– This is what you mix to spread on the ceiling and walls. Drywall Mixer and Paddle – Regular drills are not designed to mix heavy materials like drywall mud. You will need a paddle and a mixer. Wagner Power Tex Texture Sprayer – This is my favorite DIY texture painter. You don’t need an air compressor. Painter’s Plastic is used to prepare the room. Tape – This tape is used for preparation. It is easy to spray a perfect orange peel texture. It would help if you had a steady hand, the correct tools, and the suitable surface to achieve the ideal orange peel texture. Bare drywall mud is used to create an orange peel texture. Once the water has been mixed in, it will resemble pancake batter. Fill a 5-gallon bucket with plus three drywall mud. Next, get your mixing tool and paddle. Mix the mud with water slowly while mixing it in. You do not want the combination to become too wet. You're ready to go once the mixture reaches the consistency of pancake batter. After you have prepped your room and made the perfect batch of mud for spraying on your splatter texture - it's time to start spreading! It would help if you filled your hopper with mud. Then, put on a dust mask. Mud can get in the air as you work. If you are interested in options other than the Wagner Tex spray, I don't recommend this sprayer unless they have an air compressor or a texture gun/hopper. Let's face it; you probably have sprayed texture before if you have these things. Use the Wagner Power Tex sprayer’s smallest hole nozzle. A smaller hole will result in smaller droplets. This is what you want for your splatter texture. Spraying should be done approximately 3 feet from the surface. You won’t stop spraying once you have pulled the trigger. Keep moving in an even space while overlapping roughly 50% each pass. When you are ready to spray, you don’t want the first spray on your ceiling or walls. That’s asking for trouble. This is the best time to get started with your Wagner Tex Spray. Grab your Wagner Tex spray, mixed texture, and an extension cord. You can also practice spraying on walls. However, if your wall texture isn’t pleasing, you must remove it. Try spraying the orange peel texture thinly and thickly to see which texture you prefer. Some people like it thin enough to cover the walls. Others, including myself, like the orange peel thickened on walls with no visible drywall board. After you have set everything up and practiced, it is time to spray the splatter texture. To ensure consistency, check the text. It’s a good idea not to spray your texture unless you have to. If the texture is uneven or too light, stop spreading and spray again. You can do this even after you’ve finished a room. You can add orange peel splatter to your texture even if it is dried. There are two options if you feel your texture is too thick or don’t like the look. You can first scrape the texture off with a 9-inch mud knife if it is still damp. If you don’t like the texture after it has dried, you can sand it off and start again. It should be easy to sand off, even though there isn’t any paint on the texture. We offer the above services at the following locations within Port St Lucie:
If you are located in Palm Beach County and you don’t see your city/area listed above, don’t worry! We cover all of Palm Beach County. Fill out the contact form above or CLICK HERE and send us a message. We’ll get back to you asap!
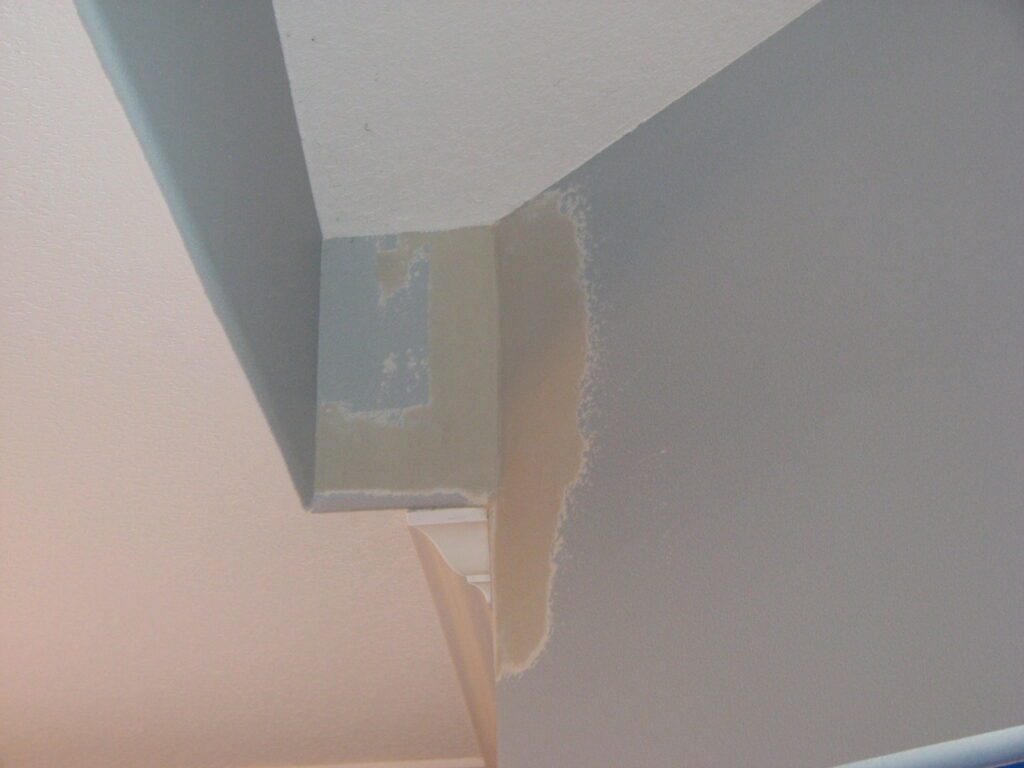
Orange Peel Ceiling
Contact Us

The Drip Cap
Benefits

How to Spray an Orange Peel Perfectly
Mix Your Mud To The Correct Consistency
Spray Your Texture
Amazon has a Wagner Spray Tex.
Locations We Serve